Change Network Priority via PowerShell
1. Open Start.
2. Search for Windows PowerShell, right-click the top result a select Run as administrator.
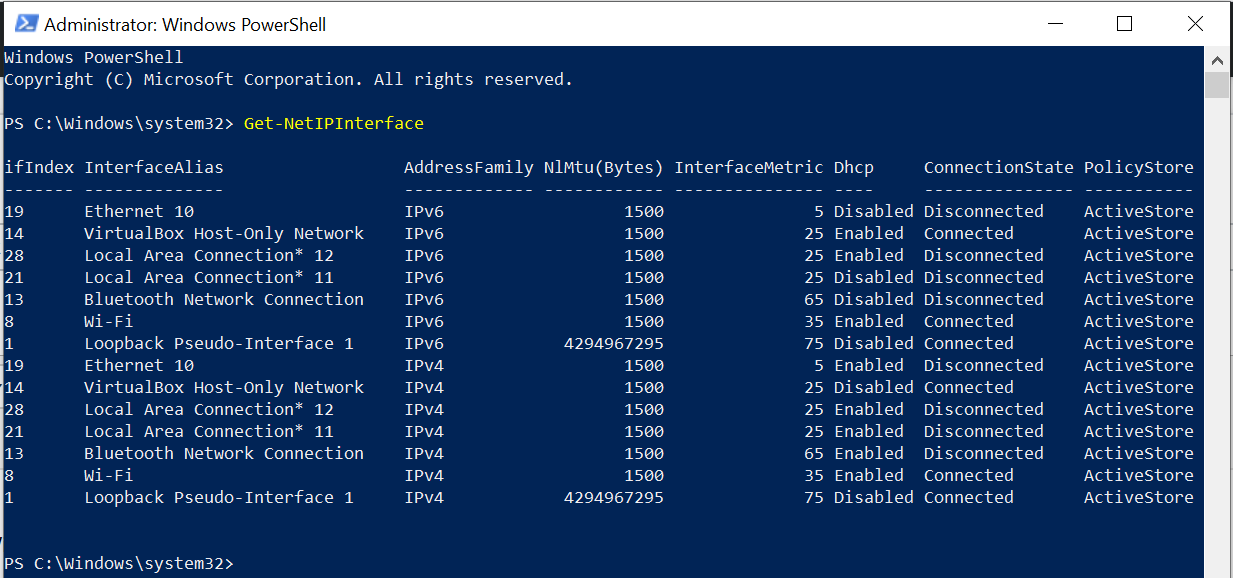
3. Type the following command to identify the current interface metric and interface index number :
Get-NetIPInterface

4. Type the following command to change the priority order:
Set-NetIPInterface -InterfaceIndex 21 -InterfaceMetric 5

Make sure to change the -InterfaceIndex value to reflect the network adapter you want to prioritize and change the -InterfaceMetric value to assign a priority. Also, remember that a lower metric number means higher priority, and a higher metric number means lower priority.
5. Type the following command to see the new metric applied to the network adapter:
Get-NetIPInterface
Note: to reset use the following command:
Set-NetIPInterface -InterfaceIndex 21 -AutomaticMetric enabled
You can express your appreciation and support to the Author by clicking on a Google advertisement in this website.
Got question? Contact us at info@ts-wiki.com